How to set up an emergency website
github.com/kristofer forked this site as place to get a quick website up to put behind zipliner.org
See github.com/maxboeck/emergency-site for more…
To publish a website with this template, there are two options, depending on your technical skillset. Choose which one describes you best:
- I’m not a developer, I just want to set up a website
- I have basic knowledge of how to use
npmand the command line
No-Code Setup #
You don’t need any programming skills to set up a site with this template.
Following these steps, you can get started without touching any code:
- Get a GitHub account (skip if you have one)
- Get a Netlify account (skip if you have one)
- Deploy this template
- Configure your site
- Set a domain
- Enable CMS
Get a Github account #
Github is a platform that hosts code. It’s required for this template to work.
If you have a GitHub account, go ahead and log in. If not, sign up for an account. You will only need an active email address. When prompted, select the “Individual” (free) plan. You can skip the questions about your use of Github and then verify your email address in the last step.
Get a Netlify account #
Netlify is a free service that will provide the servers for your new website.
If you already have a Netlify account, go ahead and log in. If not, sign up for an account. (Recommended to sign in with your GitHub account)
Deploy this template #
Once these two accounts are set up, go ahead an click the following button to deploy a copy of this template to your Netlify account:
It will open a window with instructions:
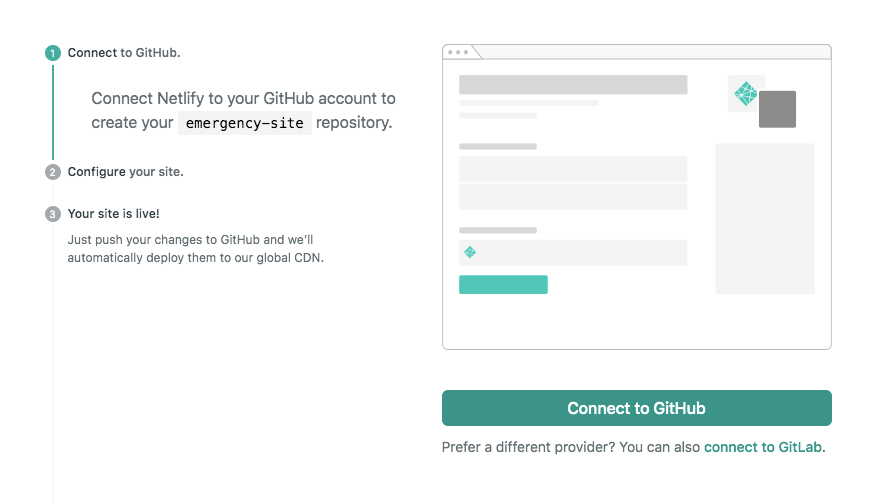
Click the button “Connect to Github”. (You should already be logged in, but if you’re not, log in).
Configure your site #
Next, you need to provide a few settings to customize your website. Fill in the fields with your details.
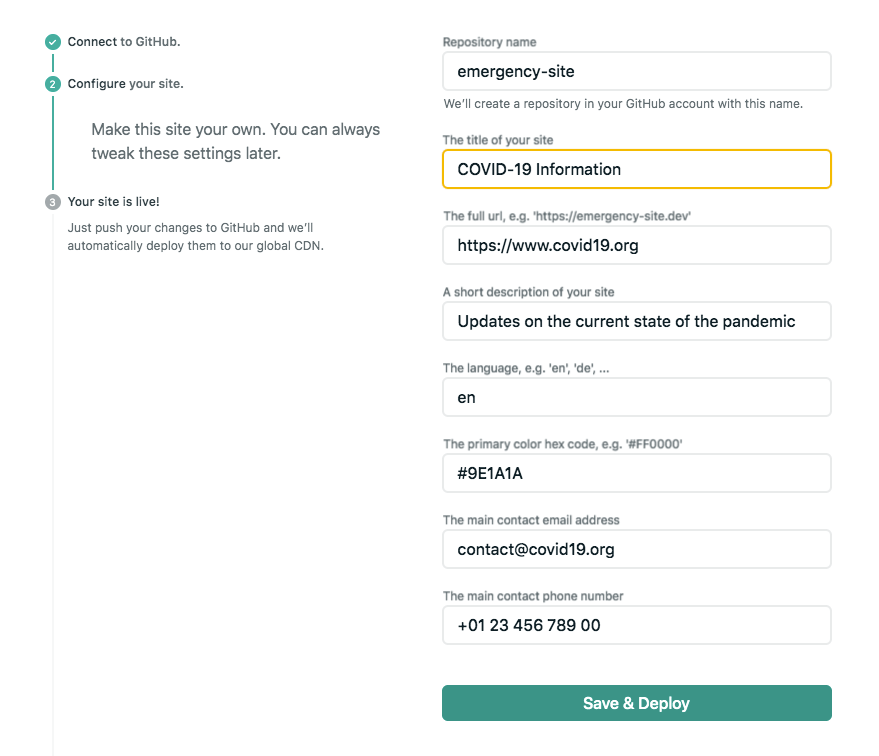
You can also edit these details later in your Netlify admin.
These settings are available:
| Name | Description | Example | Default |
|---|---|---|---|
META_TITLE | the title of your site | COVID-19 Information | Emergency Site |
META_URL | the full url of your site | https://www.covid19.org | N/A |
META_DESC | a short description of your site | Updates on the current state of the pandemic. | An emergency information website. |
META_LANG | the 2-letter language code of your site | de | en |
META_COLOR | the primary color hex code (optional) | #1D70B8 | #DB0000 |
META_EMAIL | your main contact email (optional) | contact@covid19.org | N/A |
META_TELEPHONE | your main contact phone number (optional) | +01 23 456 789 00 | N/A |
When you’re done, click “Save & Deploy”. It will take about 1-2 minutes afterwards to build your site. You’ll see the message “Site deploy in progress”.
When the site is published, you’ll see a live green link under the site title.
Set a domain #
You can set a custom domain (like “www.yoursite.com”) in your Netlify site settings. From your site’s main admin page, select Domain Settings:

By default you’ll get a domain like yoursite.netlify.com - to connect a custom one you own, click on “add custom domain”:
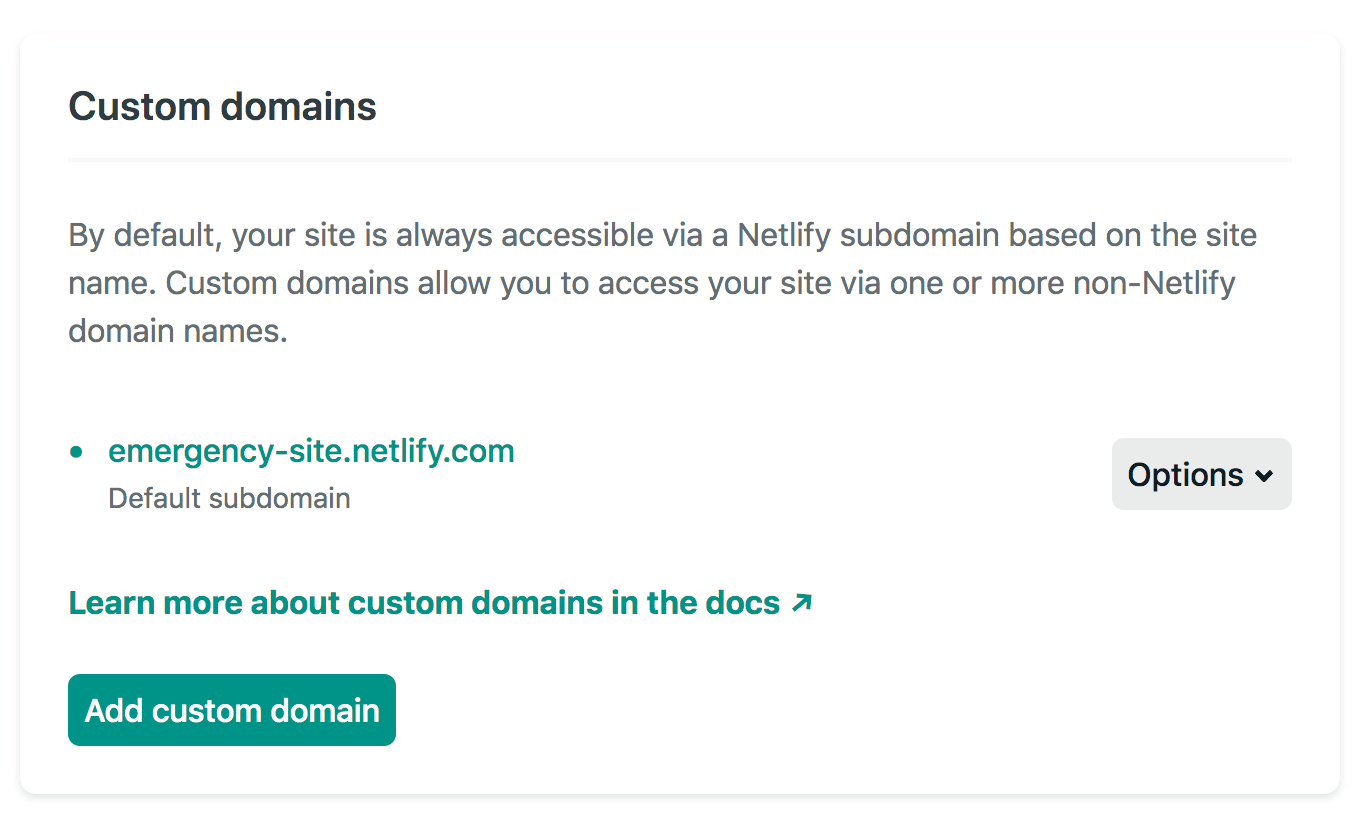
For more information on how to do this, see the Netlify docs.
Enable the Content Management System #
The last step is to configure the built-in CMS, so you can edit the site’s content through a dedicated interface.
The first thing to enable is the Netlify “Identity” service. This allows users to log in with an email address and password. In your main dashboard, select “Identity”, then click on “Enable Identity”.
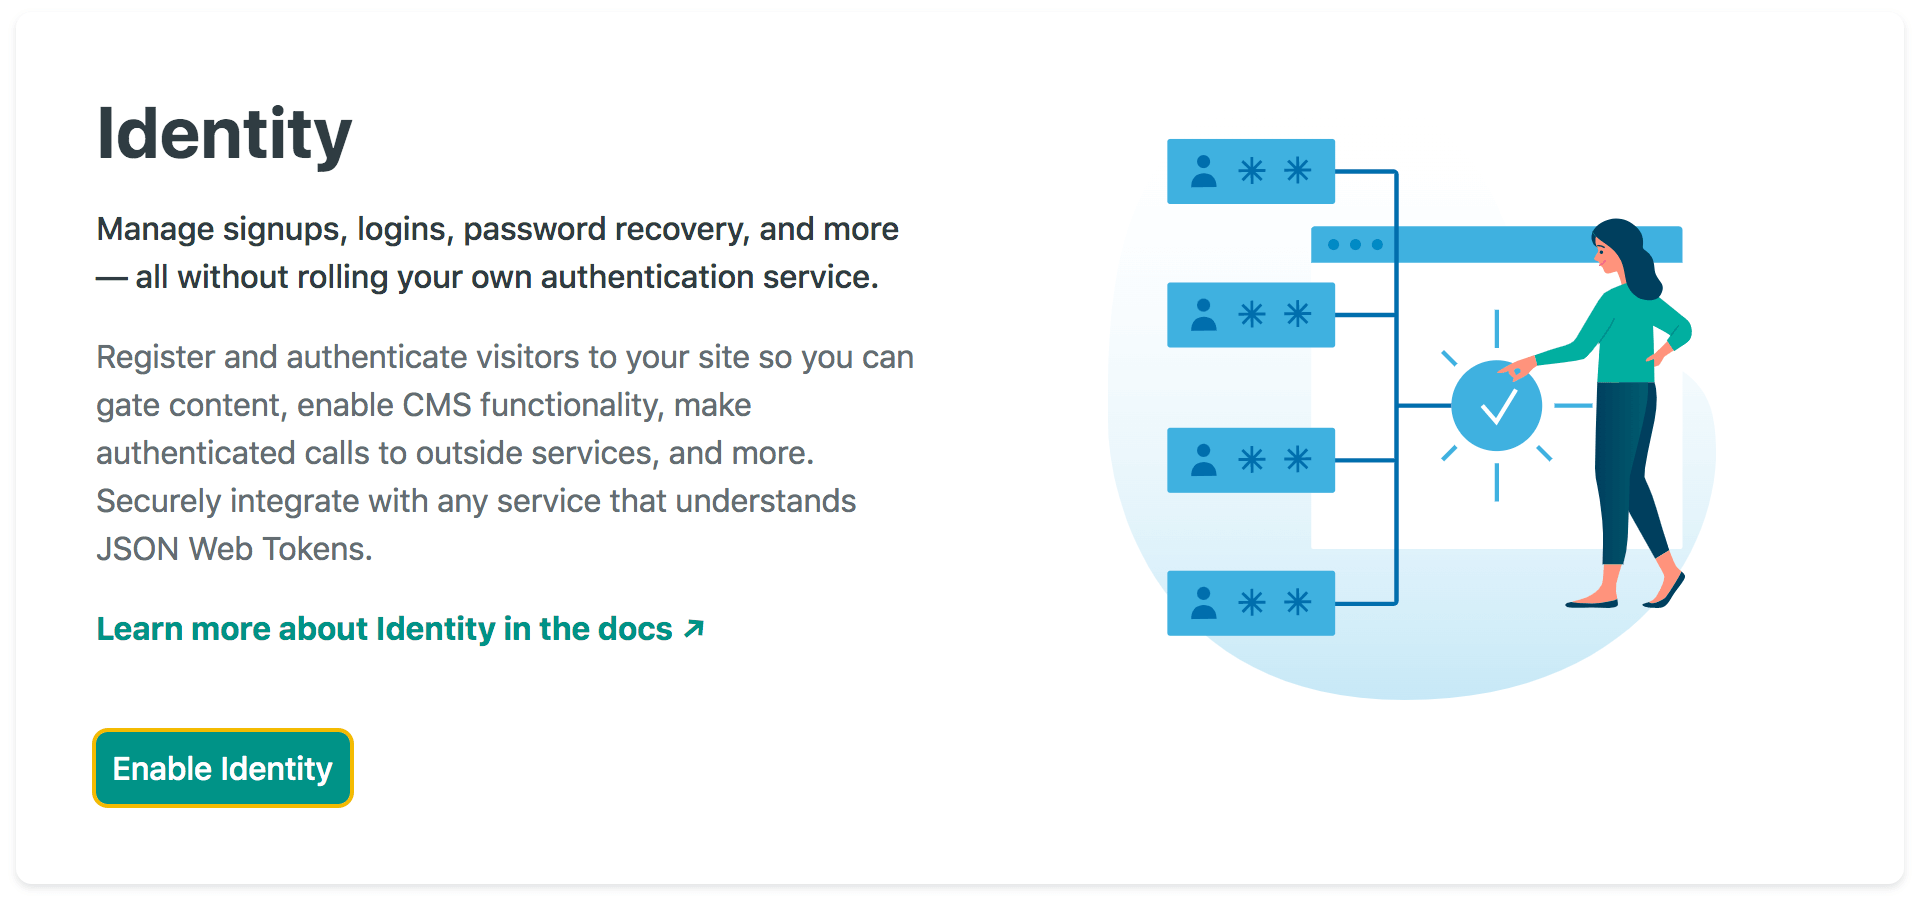
The CMS needs a way to connect to your Github account. To do this, go to Settings > Identity > Services. You’ll see an option to enable “Git Gateway”. Click the button and follow the instructions from there.
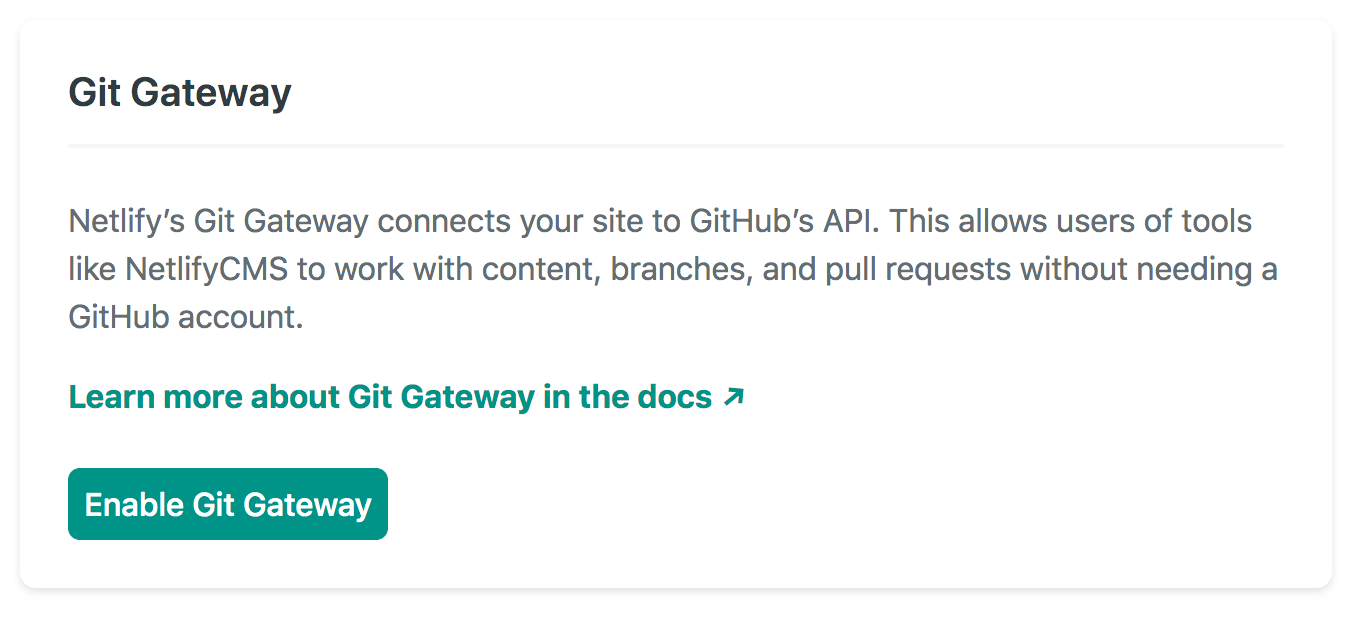
After you’re set up, create a new user by inviting yourself via email. You can then log in at www.your-site.com/admin.
For more information on Netlify CMS, see the docs.
Advanced Setup #
If you feel comfortable setting up a local development environment, you can customize this template even further. Things you need to know:
- Installing
Nodeandnpmpackages on a local machine - Running basic commands on the command line
- Writing content in markdown files
- Basic understanding of static site generators like Eleventy (optional)
Getting Started #
Clone the repository to your machine and start a new git history:
$ git clone https://github.com/maxboeck/emergency-site.git
$ cd emergency-site
$ rm -rf .git
$ git init
The build process requires Node v10 or higher on your system.
To install the dependencies, run npm install in the root directory, where the package.json file is located. The project is now ready for development.
Local Development #
You can run these on the command line in the root of your project:
npm start: starts development servernpm run build: generates a production buildnpm run debug: runs eleventy with debug output
To customize the site, edit src/data/meta.js with your details, or set the corresponding environment variables in a new .env file in the root folder of the project.
Deployment #
The easiest way to deploy is by forking this repository and deploying it to Netlify. You can do that by clicking this button:
If you don’t want to use Netlify, you can also host the site on your own server or on cloud infrastructure like an S3 Bucket. In that case, set up your own process to host the generated output folder dist at your domain.

